I am going to start writing down tinkery amateur projects I’ve done that were fun and useful. Starting with these two:
Hanging clothes rack(s)
I stopped using clothes dryers a while ago. Partly to waste less energy, but really it made me think twice was when I realized that all the lint I was cleaning out of the dryer was actually the shredded fibers of my clothes being ripped apart slowly by the drum. They also feel a lot better when hang-dried overnight. It really isn’t that much work to hang them up, and only a bit more work to schedule when I do my laundry to allow adequate drying time.
For the past few years I used a cheap metal folding rack. Now that I’m in my own apartment I wanted to do away with the need to put it in and out of the closet, plus it was wearing down and could lose it’s rigidity under a lot of laundry and it would fold in on itself, dropping all my wet laundry.
The plan was to make a flat frame with slats going across it that could then hang from the ceiling. One day on the way to work I saw a disassembled IKEA crib on the curb, so I loaded it up and brought it back home. The long side of the crib walls are perfect. I looked for the right sized pulleys but couldn’t find any locally, so I went with eye-bolts to run two strings from the wall up to the ceiling then to both ends of the rack.
It could be more stable side to side, but does the job better than my old rack. If instead of tying the top ropes to the ropes that descend to tie to the rack the top ropes were attached to a rigid wood cross piece, which was then directly connected to each side of the rack that might make it better? Fully loaded with wet clothes, it can be hard to pull the cotton cord against the friction where it bends through the hooks. Once I find pulleys that like, it should be a bit easier.
Only one is pictured here, but there’s another on the opposite side of the bedroom. This gives me room to walk all the way around the bed - which I couldn’t do with the floor-standing rack because it took up all of the walking lane. The hanging racks are also a lot easier to load.
The one silly design mistake is that the cords hook onto a cleat on the wall directly behind where the rack sits when lowered, which means when I un-hook the cord to lower the rack, I am in the way and have to remember to step back. I should probably move where the cord hooks to the wall a few feet over so it’s out of the way.
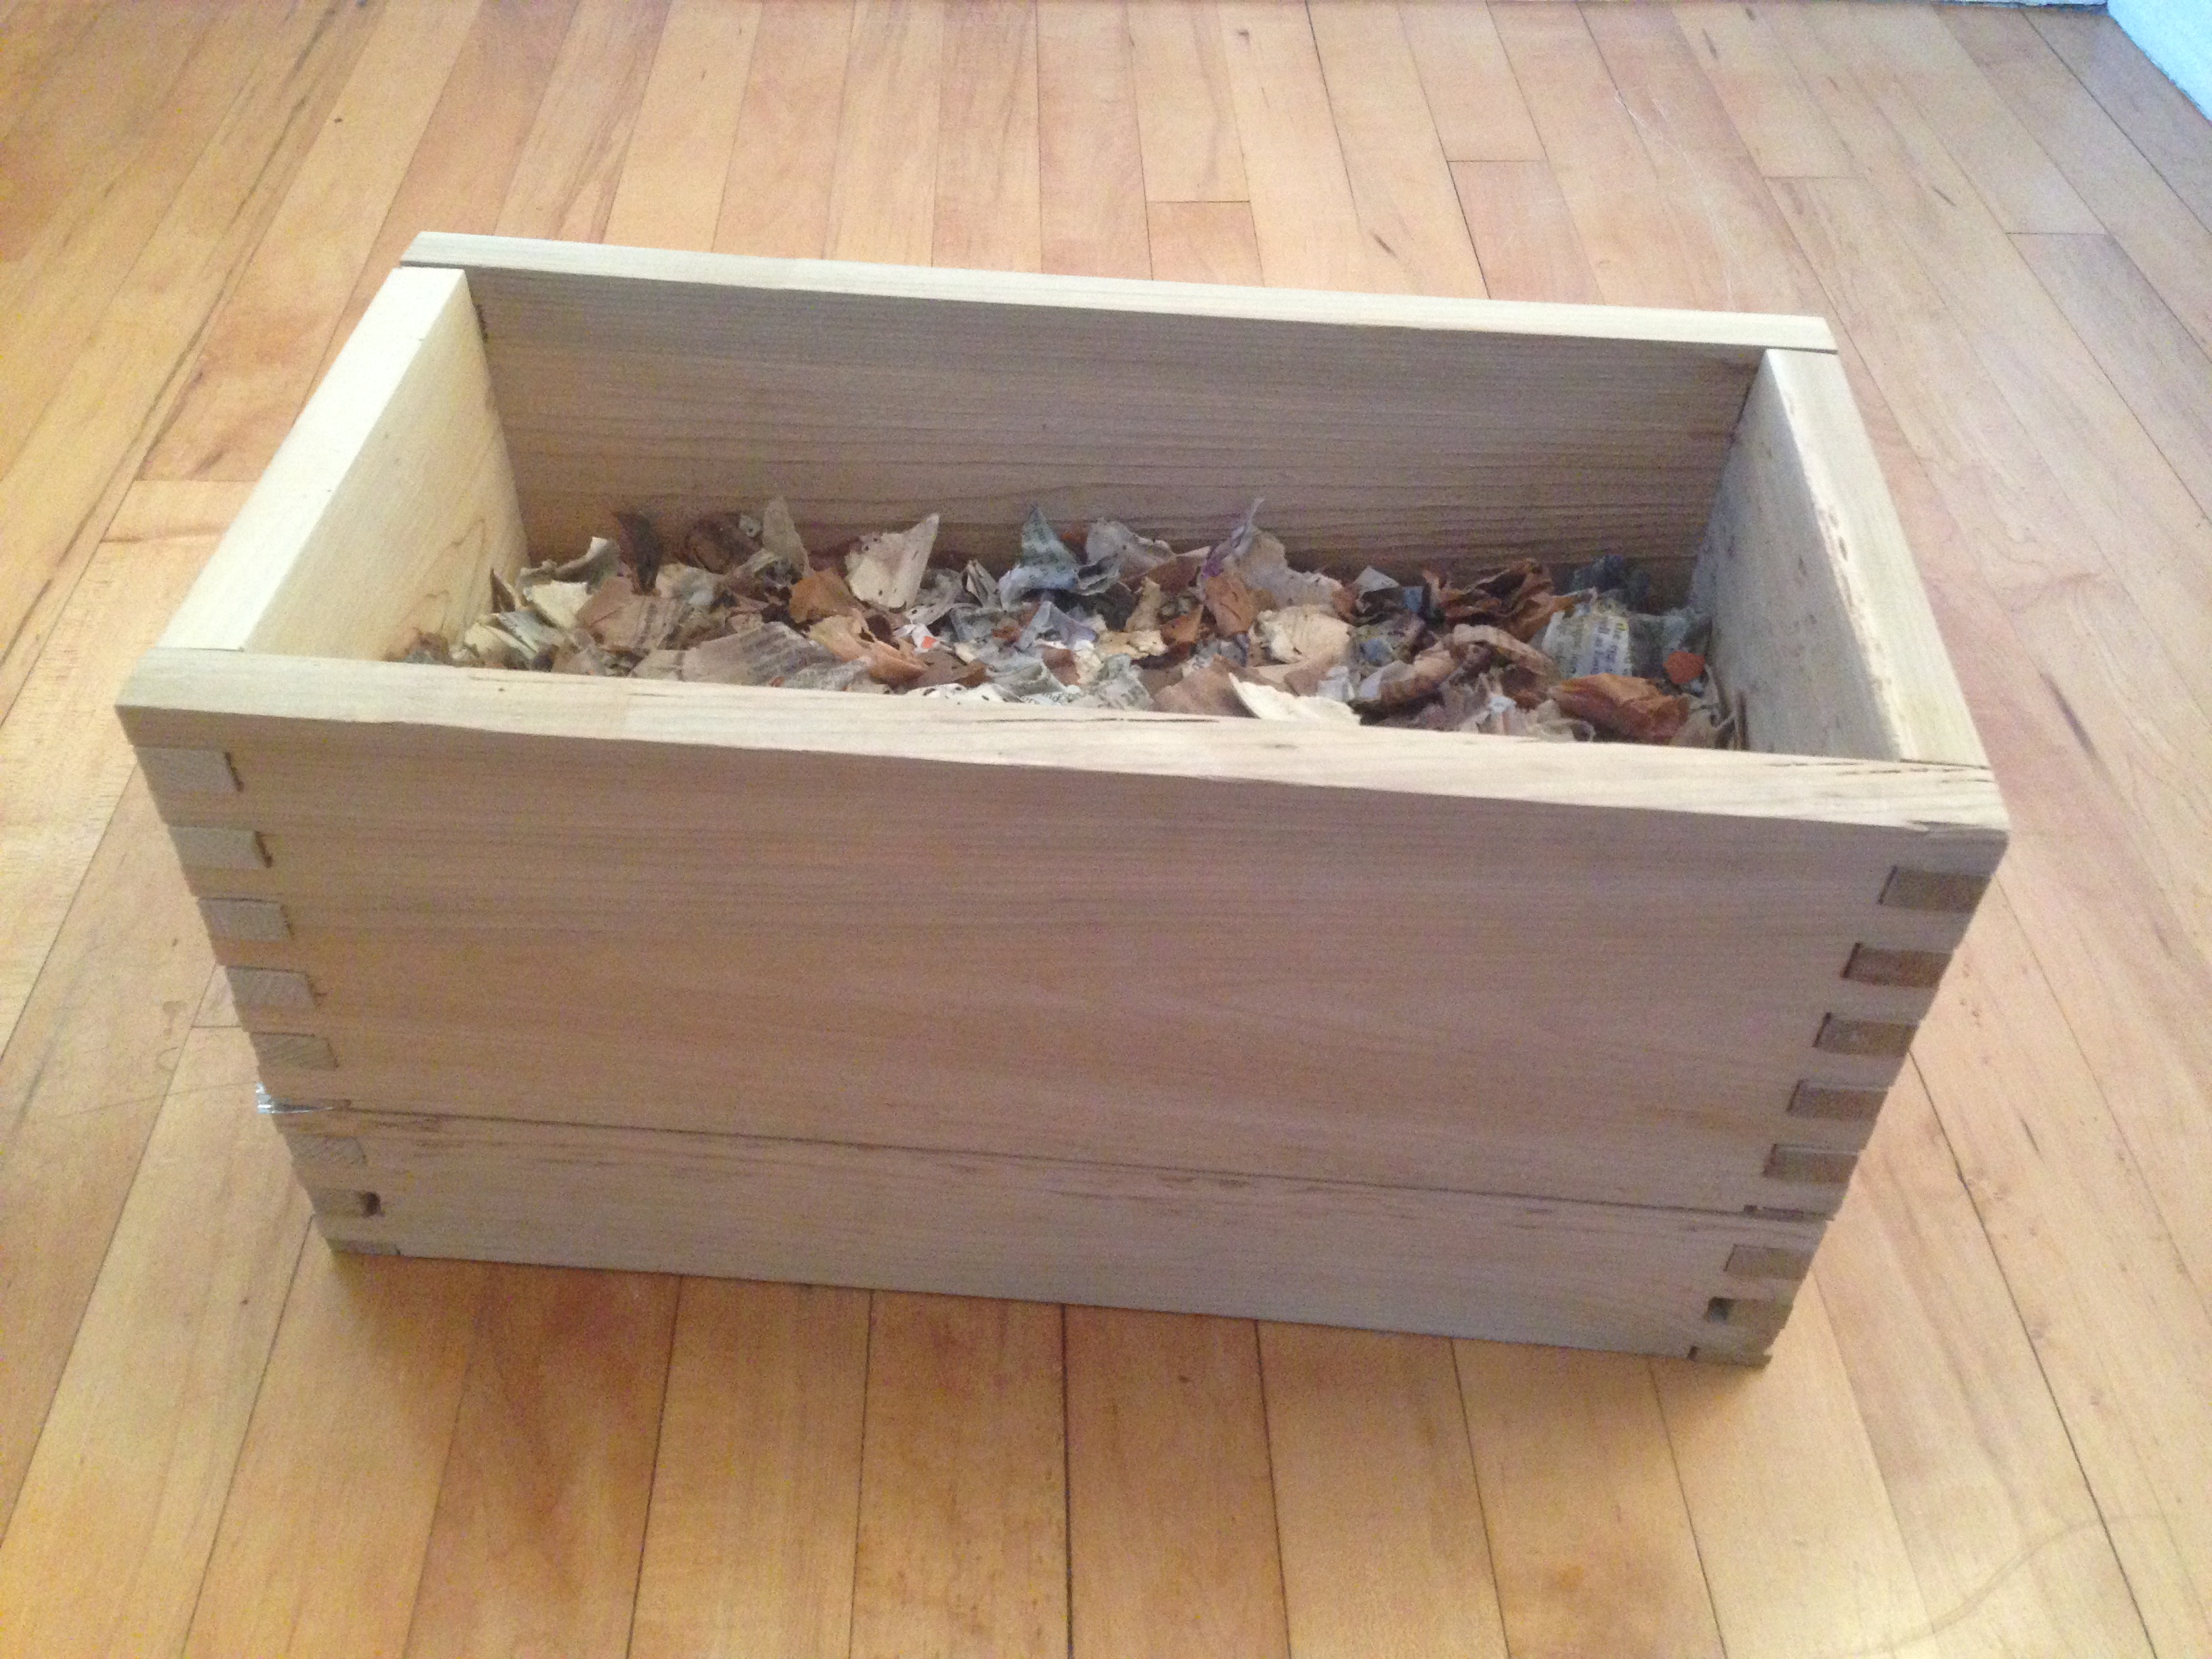
Worm bin
Who doesn’t want a bunch of worms crawling around in their kitchen? So I made a worm bin. It consists of 3 simple 4-sided wood boxes with no top or bottom. The bottom is added later as a metal screen that in theory the worms will be able to travel through. There is a 5 sided tray that the whole contraption rests on top of, with a waterproof tinfoil liner to catch all the drips. The lid is a flat piece of 1x12” cut to size.
The wood is all cedar which, fingers crossed, will hold up to the test of worm castings, soil, food scraps, and moistened paper bedding. The metal screen bottom is folded up at the edges and connected to the wood with small stainless screws and washers.
The corners are joined with box joints with the fingers cut a little bit bigger than needed to allow air into the box. The lid also doesn’t fit tight to let more air in. It smells a bit like dirt when I open the box, nothing that noticeable.
The boxes stack on top of each other, so when one box has been filled and fully digested by the worms a new box will stack on top full of worm delicatessen, and the worms will migrate upwards. (Or maybe downwards will work better - I’ve only had worms in the box for about a month.)
Once all the worms make it to the new box, the old box is prime soil additive.
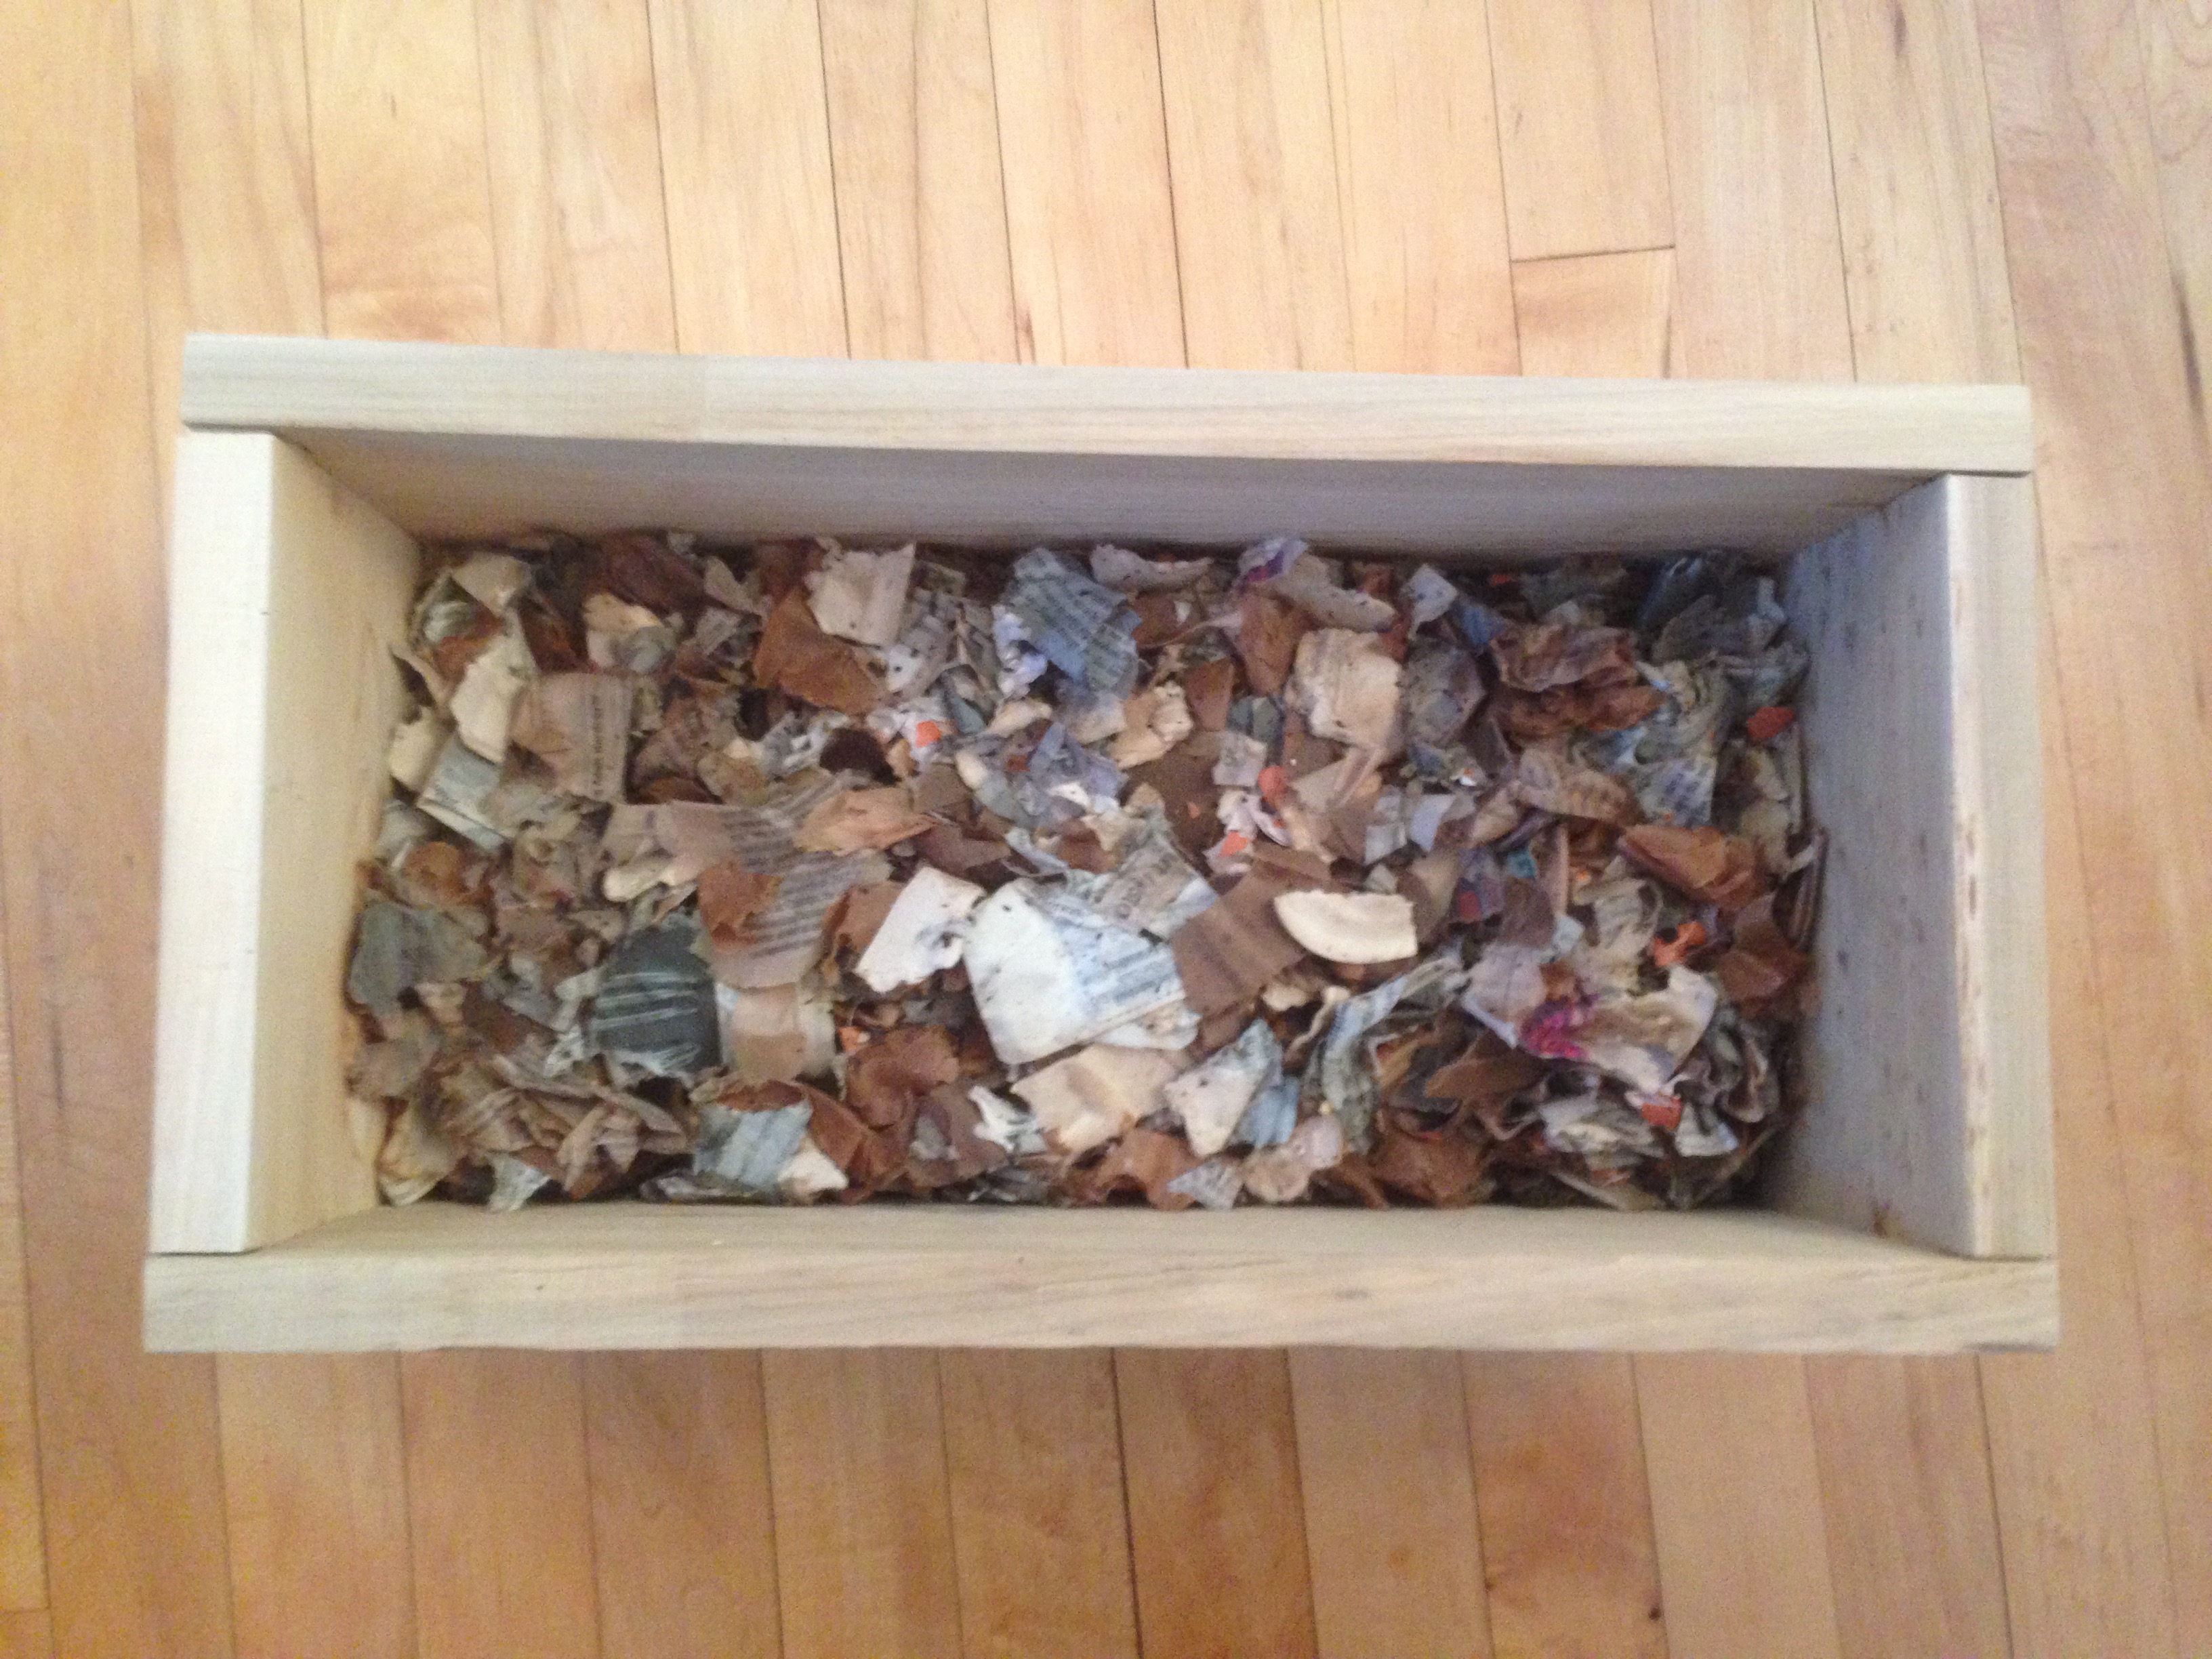
The worms were a bit shy at first, but seem to be happy and wiggling all over now. I’ve been pretty conservative: only feeding them used tea leaves, veggie scraps, soaked paper, and a few apple cores. There are well distributed, visible worm poops, which means progress towards them chowing down on whats been put in there so far.
The lid (not pictured) needs improvement: some kind of hinge and latch system so it’s easy to flip it up and have it stay that way. Right now it’s situated in the kitchen up against a wall, so I can flip up the lid and stand it on edge balanced between the rim of the box and the wall behind. This is a bit fiddly and could be better.